I may live in Seattle now, but my roots were planted in the part of the country where barbeque is not an anomaly. While most of my Seattle friends are fish throwing, salmon eating, fleece wearing, borderline pescatarians, they love it when I serve them BBQ Beef Brisket.
They will come back with barbeque sauce dripping out of the corners of their mouths, asking for seconds and wanting to know how to make this.
Don’t tell them how easy it is!
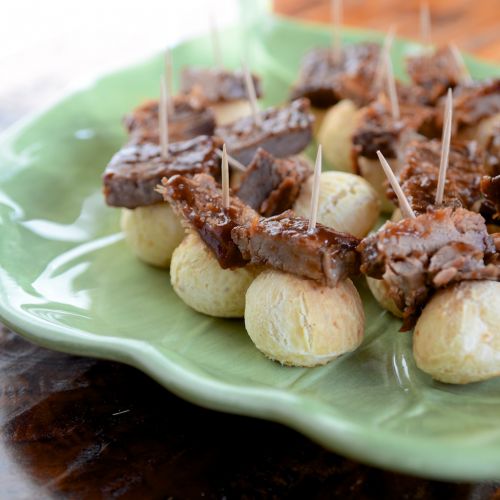
For our Super Bowl Party, I sliced the brisket into one-inch squares and popped them on top of Brazi Bites for a fun appetizer.
Or slice and serve the beef along with a side of roasted potatoes for a great meal.
Here is one of my family’s favorite recipes for Barbeque Beef Brisket.
Make sure you use gluten-free liquid smoke. Sometimes, smoke flavorings can contain barley malt, which is not gluten-free. Wright’s Liquid Smoke is gluten-free and soy-free.
Directions
Rub brisket with liquid smoke and salt. Place in a 9 x 12-inch baking dish. Let marinate overnight in the refrigerator.
When ready to cook, preheat oven to 325 degrees F.
Place in a large covered roasting pan and bake for 3 ½ to 4 hours or until done and very tender.
Chill in the refrigerator until firm, about an hour.
Slice meat very thinly.
For the sauce: Combine all ingredients in a saucepan and simmer for 5 minutes.
Place meat in a baking dish and cover with sauce.
Preheat oven to 325 degrees F and bake until heated through, about 30 minutes.
Make sure you use gluten-free liquid smoke. Sometimes, smoke flavorings can contain barley malt, which is not gluten-free. Wrights Liquid Smoke – 3.5 Oz (Pack of 2) is gluten-free and soy-free. Follow the link to order it from Amazon.
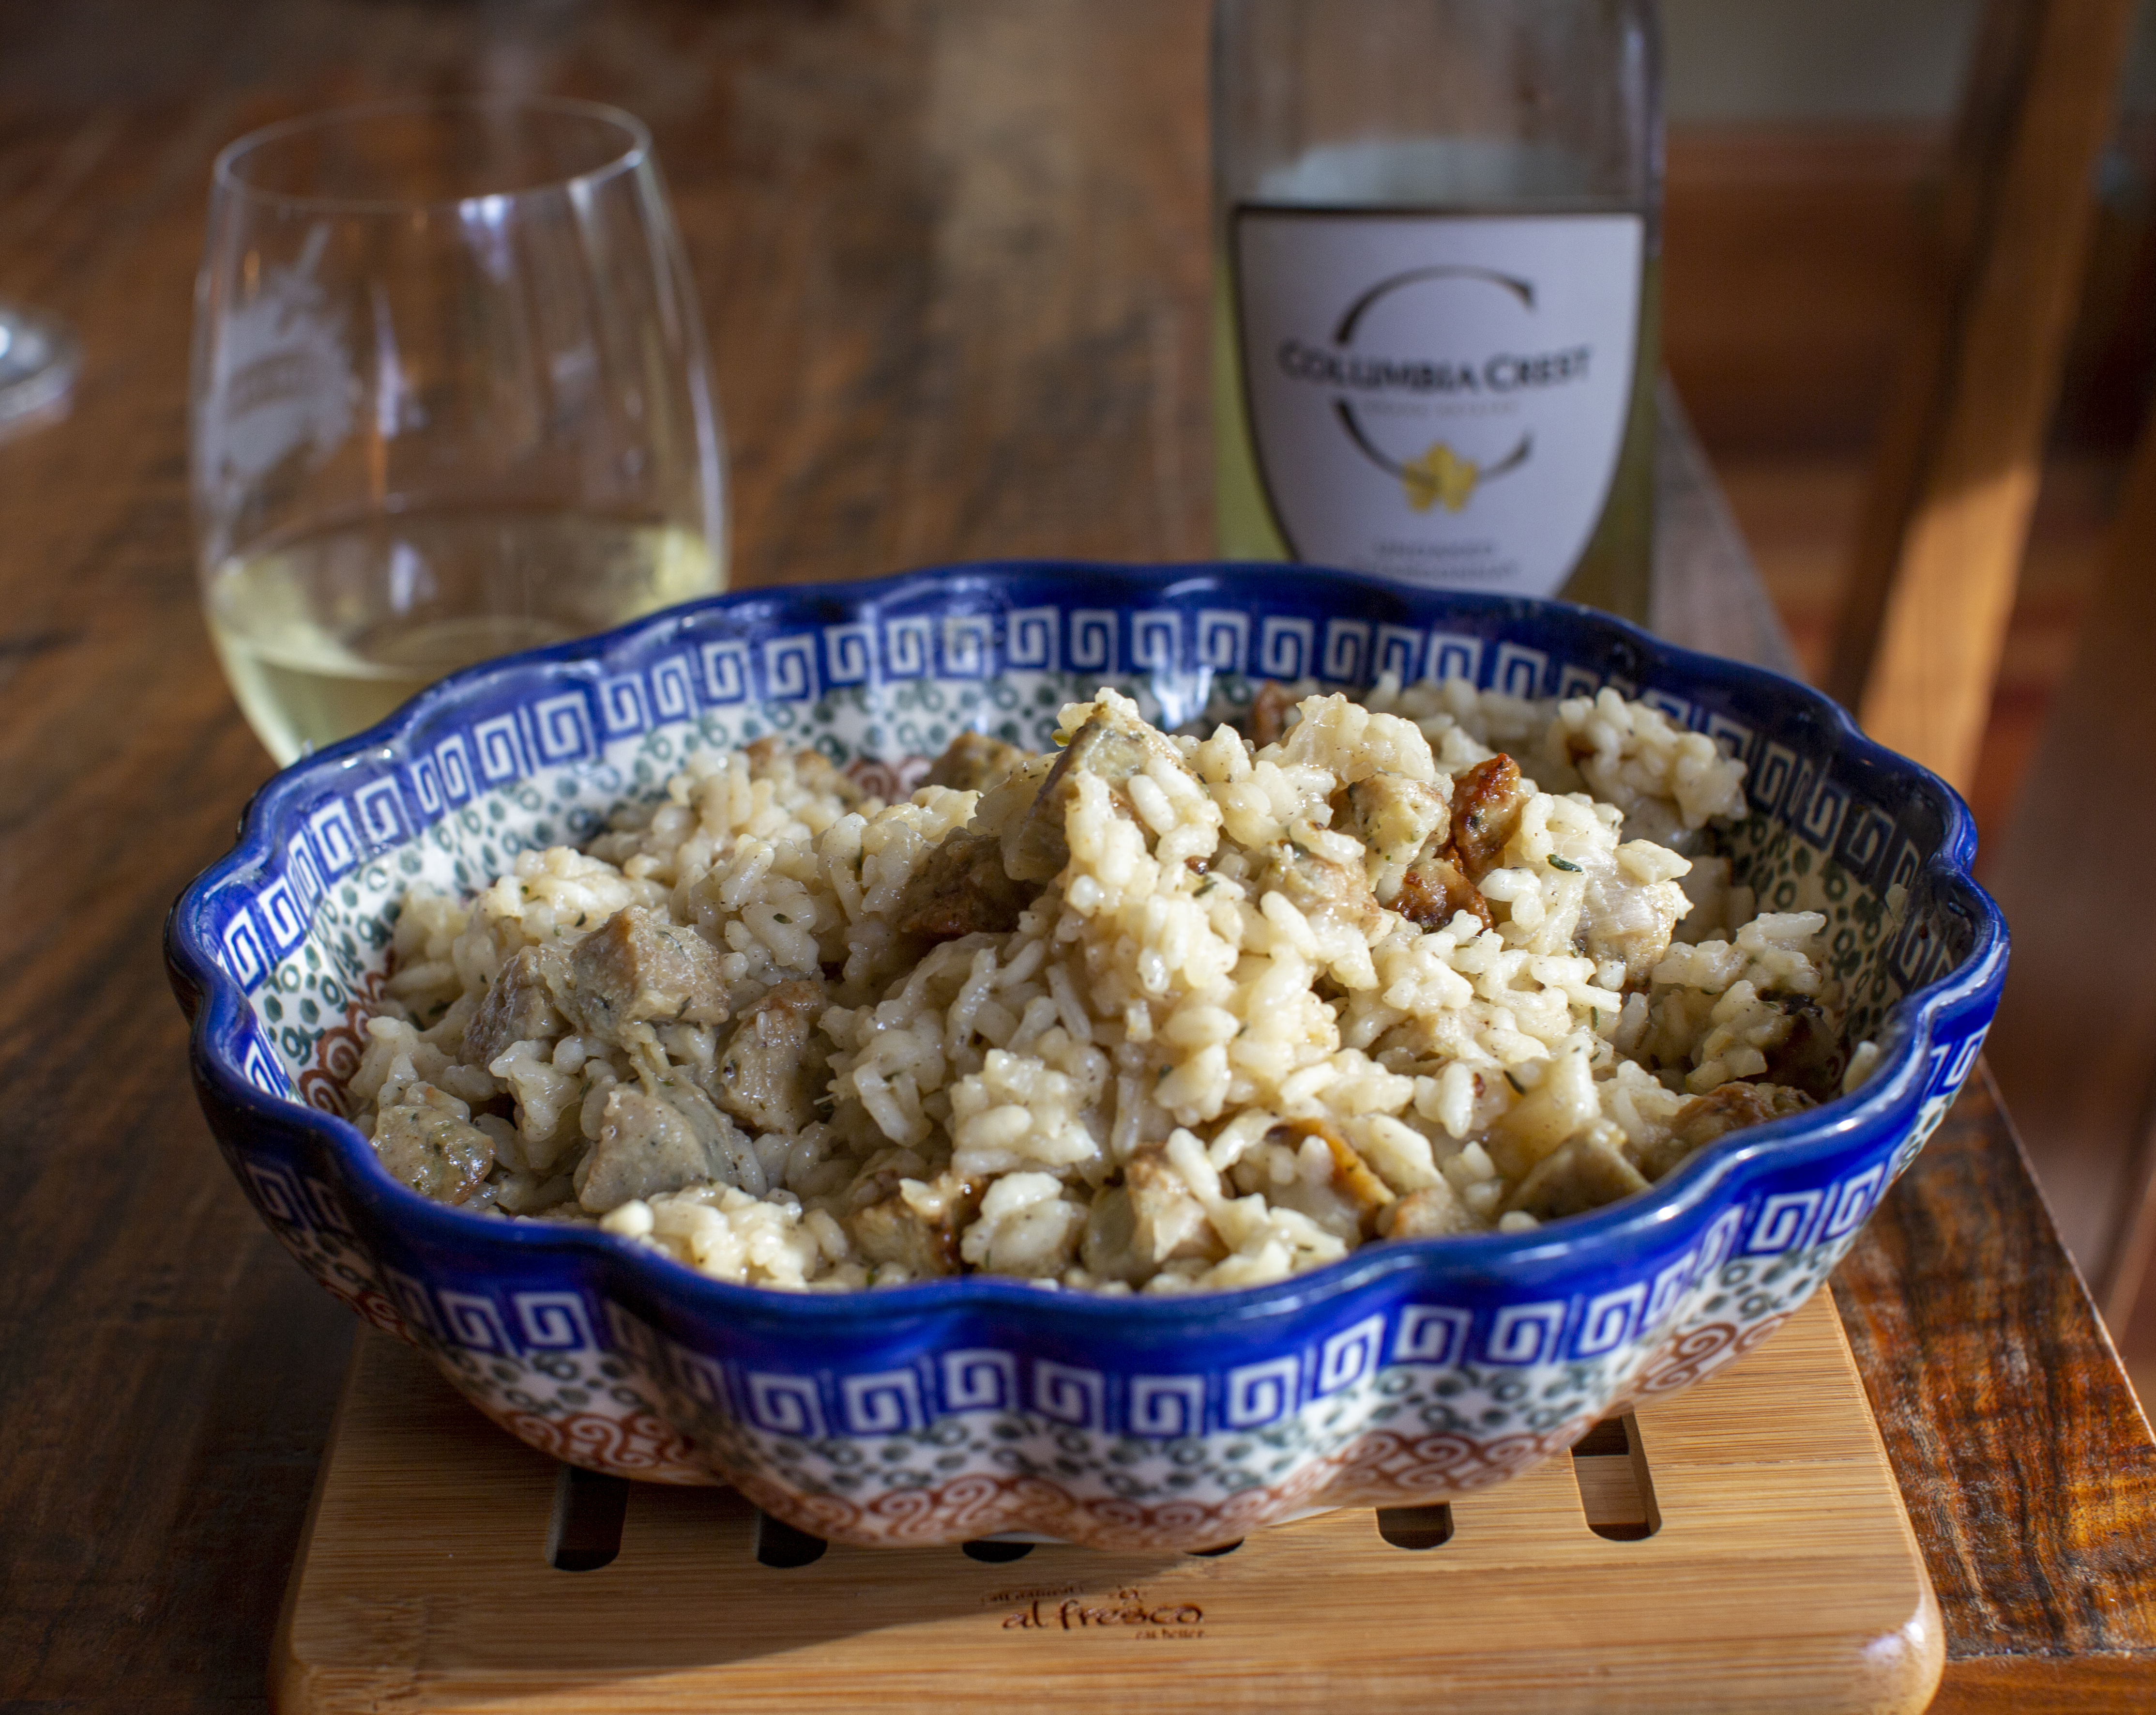
1 cup dry white wine – I used Columbia Crest Chardonnay
1/2 teaspoon salt
1 teaspoon black pepper
1 lemon, juiced and zested
3 Tablespoons sour cream
6 basil leaves, chopped
1/4 cup grated Parmesan cheese
Directions
Heat the butter in a large skillet over medium-high heat. Slice the chicken into bite-sized pieces and add to the skillet. Cook until brown. Remove the cooked chicken and set aside for later.
Warm the vegetable stock in a medium saucepan on low heat.
Return the skillet to medium-high heat and add the onion and garlic. Stir and cook for 2 to 3 minutes or until onion starts to turn translucent. Reduce heat to medium-low.
Add the rice and stir to coat, cooking for 2 minutes.
Add the wine and cook for 2 minutes, allowing the rice to absorb the wine.
Add ½ cup of vegetable broth to the rice, ½ teaspoon salt, and 1-teaspoon pepper. Stir and simmer until the broth is absorbed.
Continue to add the broth, ½ cup at a time, stirring every few minutes. When the broth is just about evaporated, add more.
Continue until the rice is cooked through, but still al dente. Start checking it after 20 minutes, but it usually takes around 30 minutes total.
Remove from the heat. Add the lemon zest and juice. Stir in the sour cream and basil.
This post might date me, but when we first went gluten-free, you could not buy gluten-free bread at the grocery hours. We worked for hours developing our own GF bread machine recipe. Here it is.
I developed this recipe using my Zojirushi BB-CEC20 Home Bakery Supreme 2-Pound-Loaf Breadmaker.
Set the bread machine on the programmable cycle and set it to Preheat 15 minutes, Knead 20 minutes, turn OFF Rise 1 and Rise 2, Rise 3 for 55 minutes, Bake 70 minutes and Keep Warm for 20 minutes. Medium crust. Note that if you bake this bread in a different machine or with different settings, you will get different results.
Add the eggs (lightly beaten), water, and canola oil to the pan of the bread maker and stir until combined. NOTE: Because this recipe calls for extra water, the bake time is extra long. If using this recipe in a bread machine that does not bake as long as mine, then reduce the amount of water.
In a large bowl, whisk all of the dry ingredients except the yeast together. Make sure you use grains that are labeled gluten-free. Add the dry ingredients on top of the wet ingredients.
With your finger, make a depression in the center of the dry ingredients and add the yeast.
Once it starts mixing, scrape the sides of the bread pan with a rubber spatula. Make sure all the dry ingredients are incorporated.
When the rise cycle is complete, smooth the top of the loaf with a wet spatula for a prettier loaf.
Leave the loaf in the bread machine through the keep warm cycle.
If you are using a different bread machine, check the temperature of the bread to make sure it is done. Bread is considered done when it reaches an internal temperature of 200 degrees F. If the temperature is between 180 and 200, leave on the Keep Warm cycle until done. If it is below 180, bake some more rechecking the temperature after 10 minutes. Failure to bake thoroughly will result in a spongy loaf.
When you live in the Pacific Northwest, it sometimes feels like summer doesn’t start until July 4th. June can be rainy, and the kids stay in school until late or mid-June.
I planted my garden yesterday, and it made summer feel closer. My son is learning on-line, so the “end of school” seems less important.
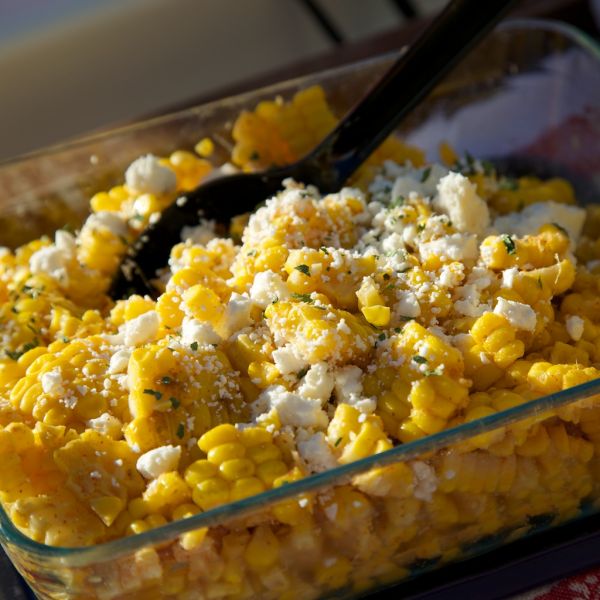
And we grilled our first corn of the summer and made this salad—another family favorite. Enjoy and stay healthy.
2 Tablespoons melted butter (use Earth Balance for Dairy-Free)
2 Tablespoons lime juice
1/2 teaspoon chili powder
1/4 teaspoon cumin
1 Tablespoon chopped cilantro
1/4 cup red onion, finely chopped
1/2 cup crumbled feta cheese
1/4 teaspoon salt
Directions
1. Bring water to boil in a large pot. Add the corn and boil for 3 minutes. Remove and allow the corn to cool slightly.
2. Cut the kernels off the cob and set aside.
3. In a small bowl, whisk together the melted butter, lime juice, chili powder, cumin, and chopped cilantro.
4. Pour over the corn and gently mix to coat.
5. Stir in the red onion and top with crumbled feta.
6. Season with salt to taste.
Serve chilled or at room temperature. Refrigerate leftovers.
My garden on a stormy spring evening. April showers, bring May flowers.
Local, gluten-free guru Karen Robertson wrote one of my favorite gluten-free cookbooks. Cooking Gluten-Free was the first cookbook that I purchased at Whole Foods on that initial five-hour shopping excursion that began our gluten-free life. I was lucky that I picked a good cookbook, and I still return to it repeatedly.
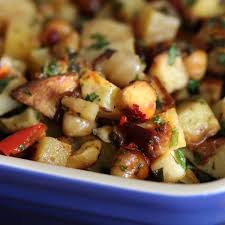
To give you a sample of the recipes, Karen is sharing the recipe for Roasted Root Vegetables. This recipe would be a great side at any dinner party. The hazelnuts and dried cherries add subtle texture and flavor. Serve it with a bold Washington Chardonnay.
4-5 small potatoes (baby reds, Yellow Finn, Yukon Gold), scrubbed
1 red bell pepper, seeded and membranes removed
1/2 cup (67g) hazelnuts, skins removed
1/4 cup (47g) extra virgin olive oil, divided
Juice of 1/2 lime
Splash of Tabasco
3 Tablespoons chopped fresh basil and Italian parsley
1/4 cup (38g) dried sour cherries
1 Tablespoon maple syrup
2 Tablespoons sherry wine vinegar
Chèvre Medallions
6 ounces (118g) creamy goat cheese
4 ounces (120g) cream cheese, softened
1/2 cup GF fine Italian bread crumbs (see recipe below)
Olive Oil
Directions
Root Vegetables
Preheat oven to 425°F. Coarsely chop all vegetables into 3/4-inch cubes. Toss vegetables and hazelnuts with 2 tablespoons of olive oil, lime juice, Tabasco, salt, and pepper.
Spread the mixture in an even layer on two large baking sheets and roast for 15-20 minutes or until the potatoes are tender and the vegetables are caramelized around the edges. (Rotate pans in the oven at 10 minutes)
Place roasted vegetables into a large metal bowl and add chopped herbs, sour cherries, maple syrup, sherry vinegar, and remaining olive oil.Season to taste with salt and pepper. Keep in a warm oven while preparing the cheese medallions.
Chèvre Medallions
Mix goat cheese and cream cheese together. (Note: You may use only goat cheese if you wish.) Form the cheese into eight equal balls and then flatten until each is a 1/2-inch thick disk. Press firmly into the breadcrumbs on both sides. Let rest in the refrigerator until ready to cook.
Heat a little olive oil in a heavy skillet over medium heat. Sear the cheese medallions quickly on each side until golden and hot.
Place two medallions on each plate. Scatter the roasted vegetables over and around the medallions. Top with sprigs of fresh herbs or a garnish of thinly sliced red peppers.
3/4 cup squeezed lemon juice (or juice of 4 lemons)
3/4 cup olive oil
2 teaspoons kosher salt
1 teaspoon pepper
1/2 teaspoon dried thyme
2 pounds boneless, skinless chicken breast
Directions
Add all of the ingredients to a gallon-size Ziploc bag. Seal and refrigerate overnight or at least six hours. The longer, the better.
When ready to use, grill chicken for 10 minutes on each side until done but not dry. Alternatively, add some hi heat oil to a skillet and saute on your cooktop until done.
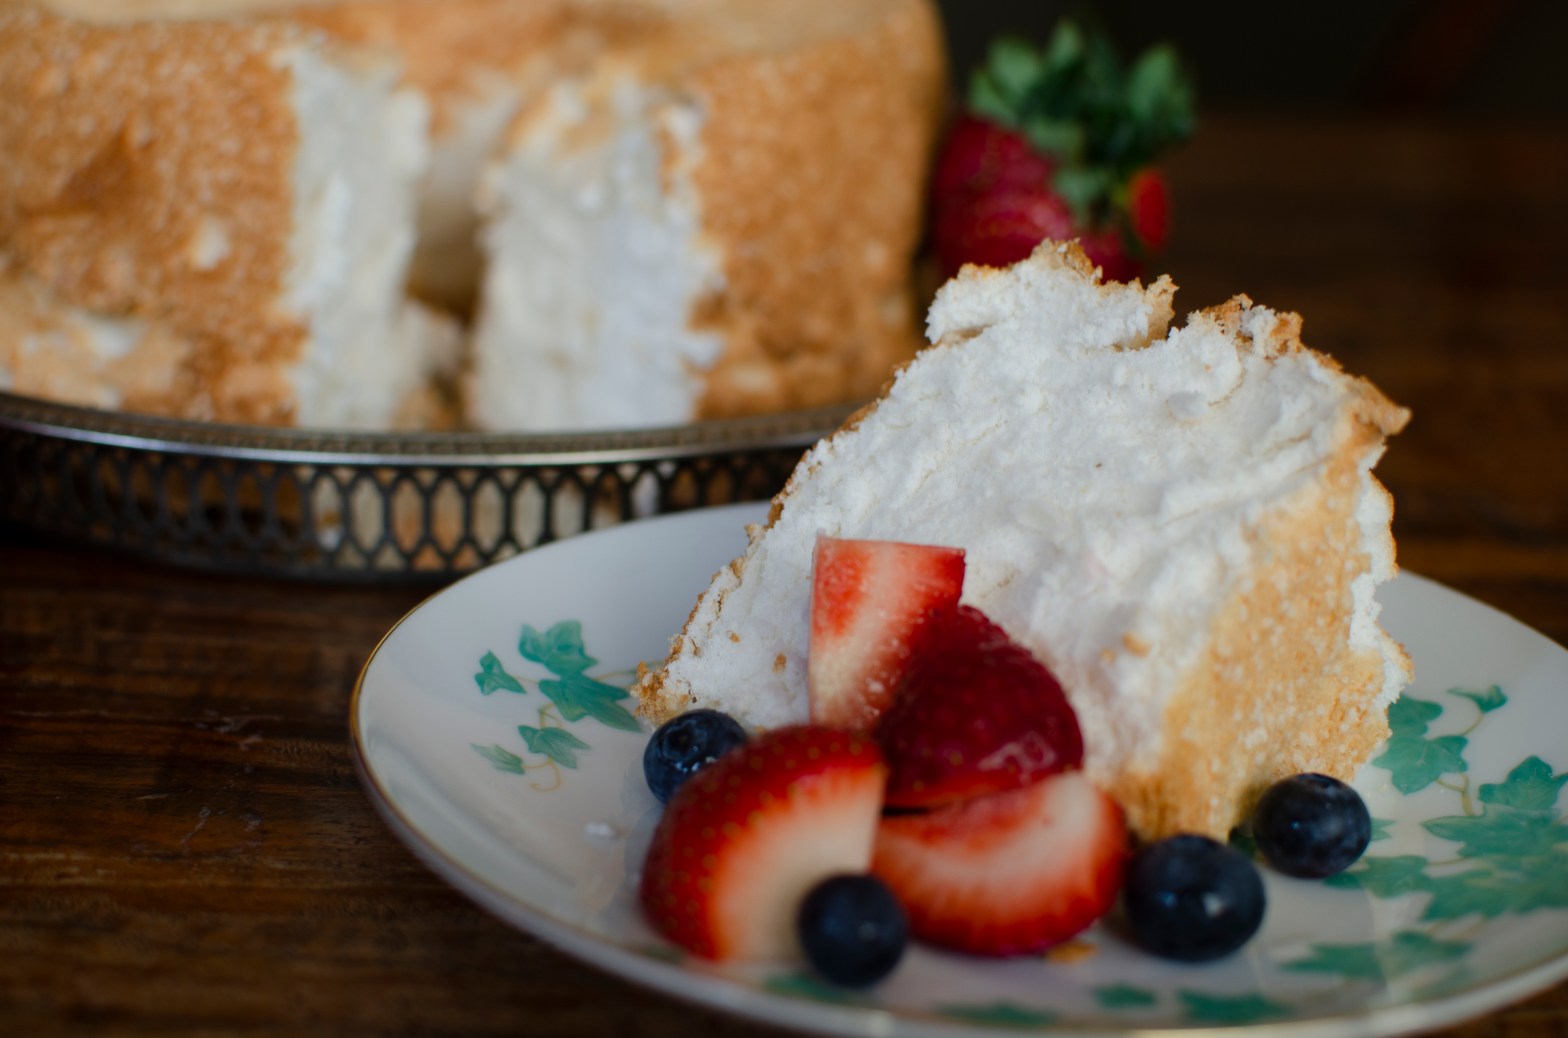
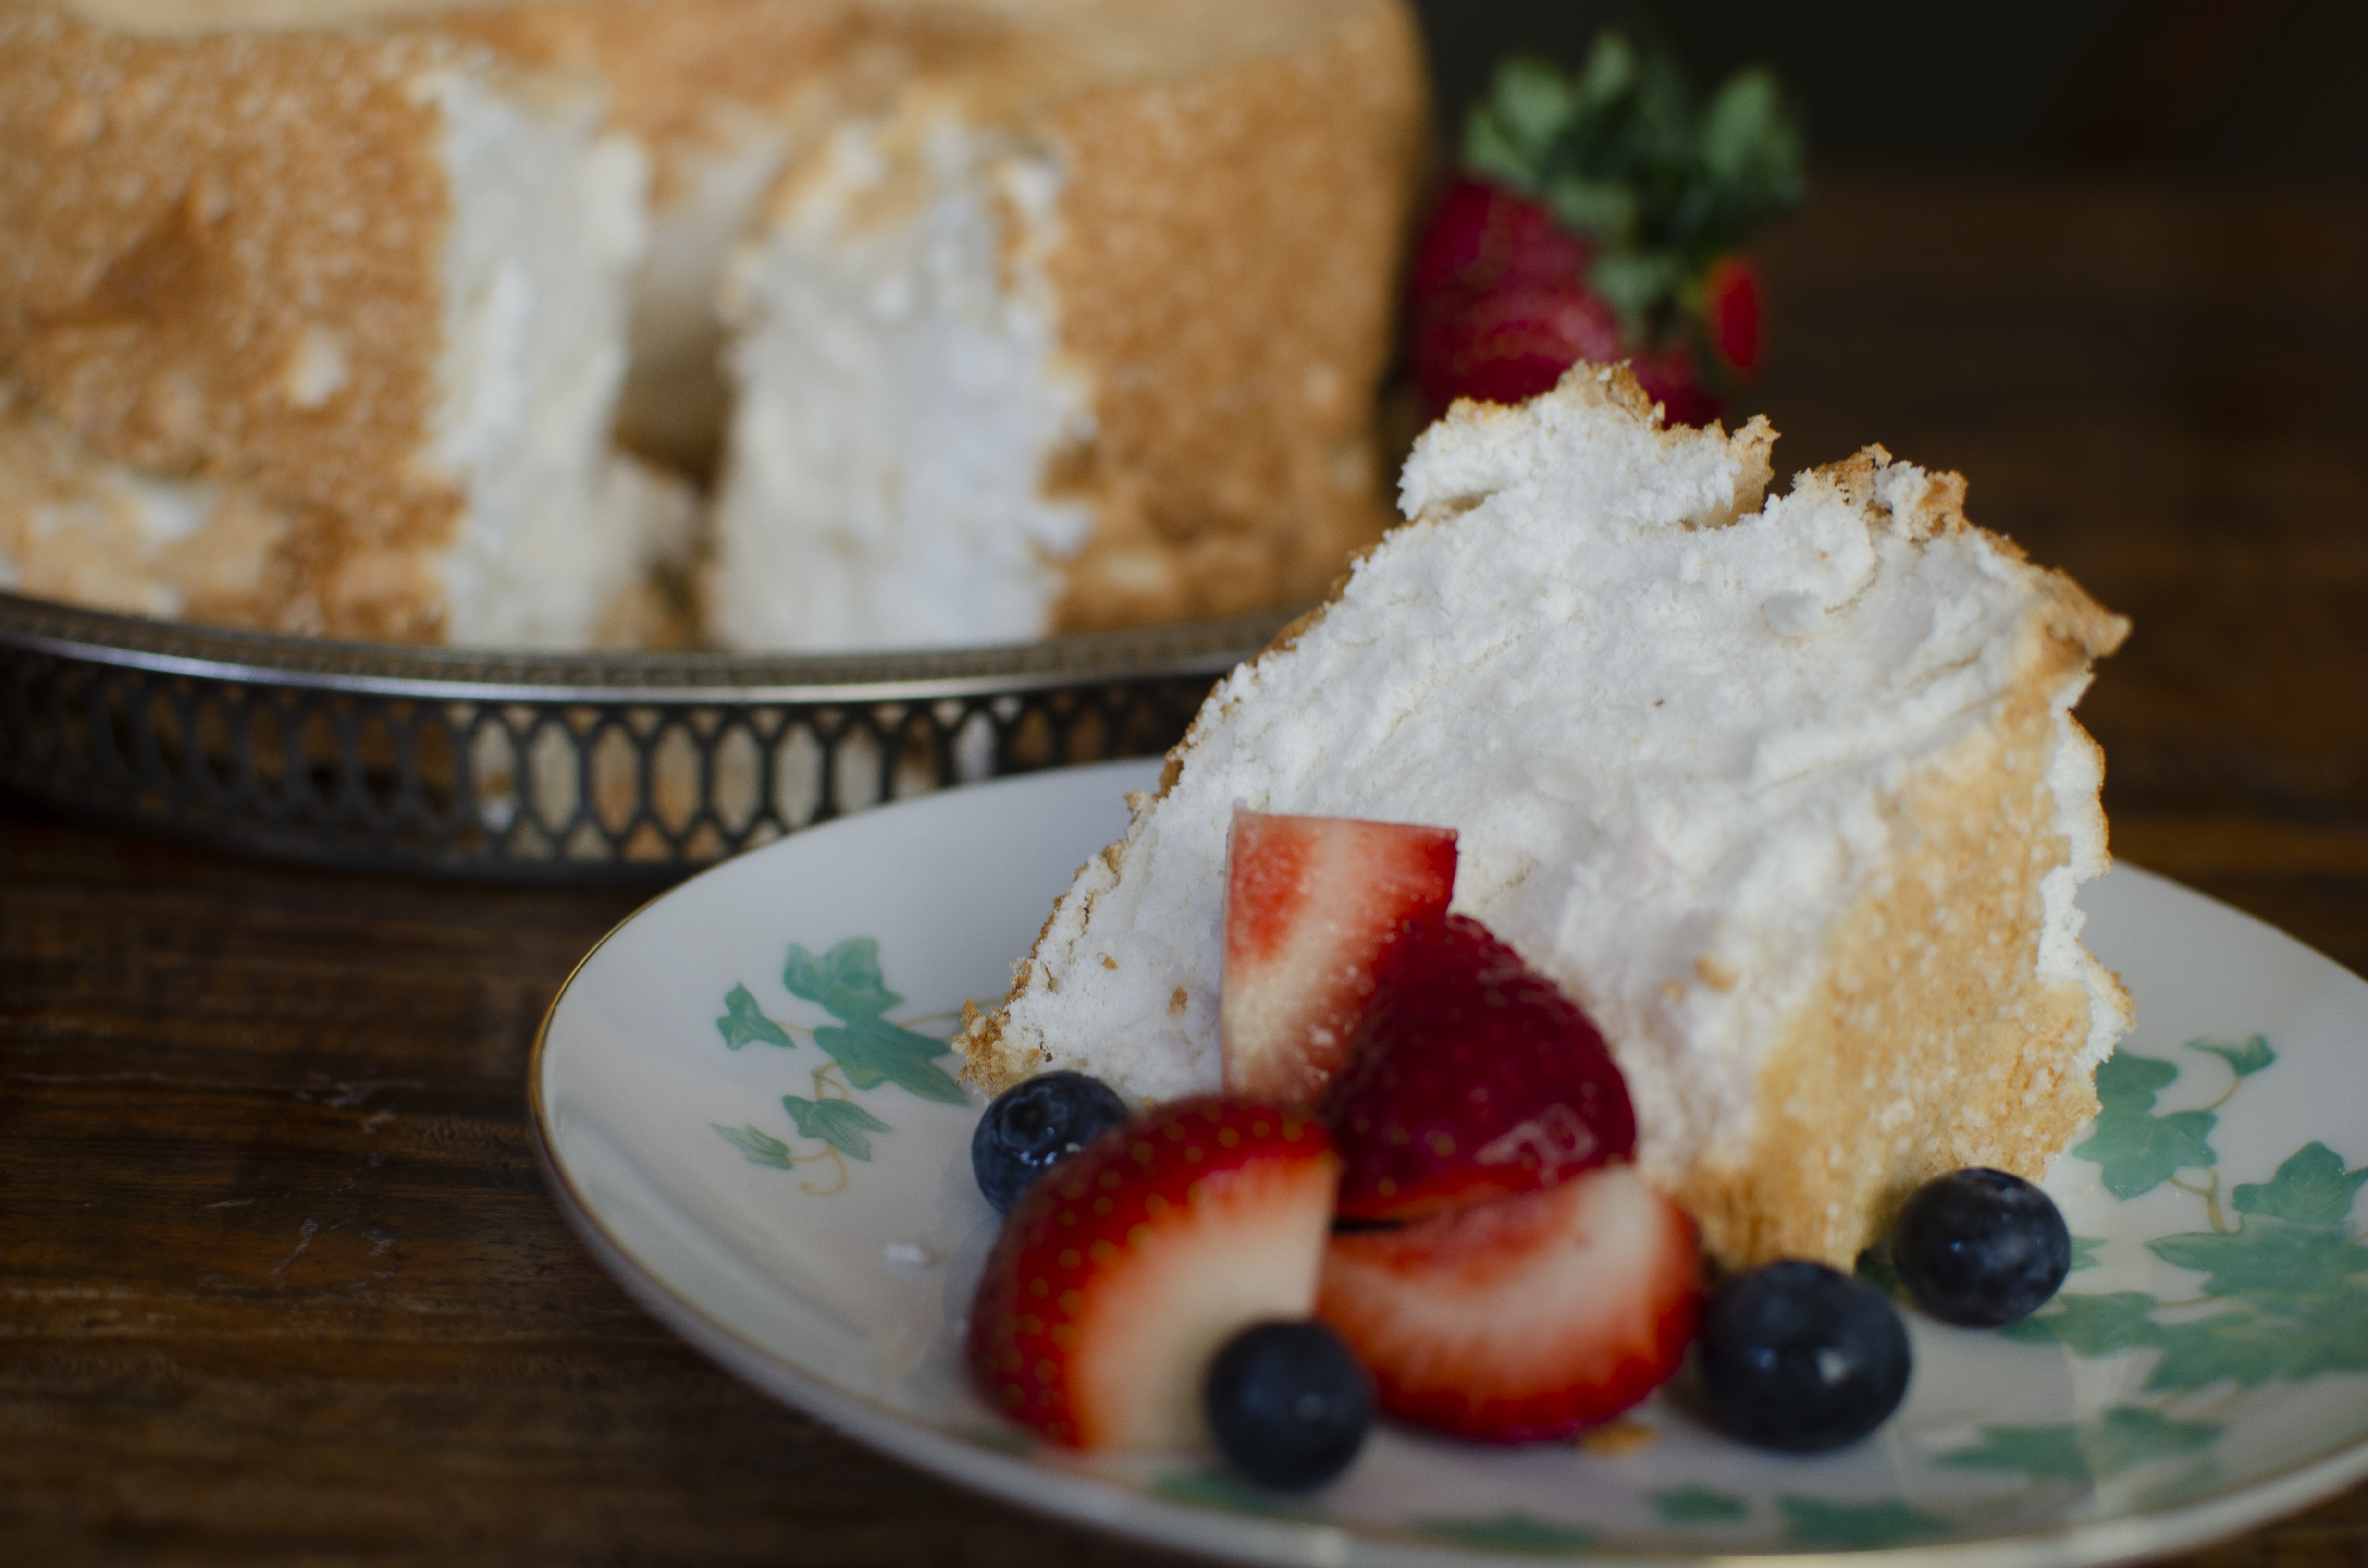
1. Adjust an oven rack to the lower-middle position and heat oven to 325 degrees F. Have ready an ungreased large tube pan. If the pan bottom is not removable, line it with parchment paper.
2. Whisk together the tapioca flour, potato starch, and xanthan gum. Sift the flour.
3. Whisk the flour and ¾ cup of the sifted sugar in a small bowl. Place the remaining ¾ cup sifted sugar in another small bowl next to the mixer.
4. If your eggs are coming out of the refrigerator, place them in a bowl of warm water to bring to room temperature.
5. Beat the egg whites in the bowl of a stand mixer at low speed until just broken up and beginning to froth. Add the cream of tartar and salt and beat at medium speed until the whites form very soft, billowy mounds.
6. With the mixer still at medium speed, beat in the remaining ¾ cup sugar, one tablespoon at a time, until all the sugar is added and the whites are shiny and form soft peaks.
7. Add the vanilla, lemon juice, and almond extract and beat until just blended.
8. Sift the flour-sugar mixture over the whites, about three tablespoons at a time, and gently fold in, using a large rubber spatula.
9. Gently scrape the batter into the pan, smooth the top with the spatula, and give the pan a couple of raps on the counter to release any air bubbles.
10. Bake until the cake is golden brown and the top springs back when pressed firmly, 50 to 60 minutes.
11. If the cake pan has prongs around the rim for elevating the cake, invert the pan onto them. If the container does not have prongs, invert the pan onto the neck of a bottle or funnel. Let the cake cool completely, 2 to 3 hours.
12. To unmold, run a knife around the edges of the pan, being careful not to separate the golden crust from the cake. Slide the cake out of the pan and cut the same way around the removable bottom to release, or peel off the parchment paper, if using.
13. Place the cake, bottom-side up, on a platter. Cut slices by sawing gently with a large, serrated knife.
Top with Whipped Cream and Strawberries or Frost for a decorated cake.
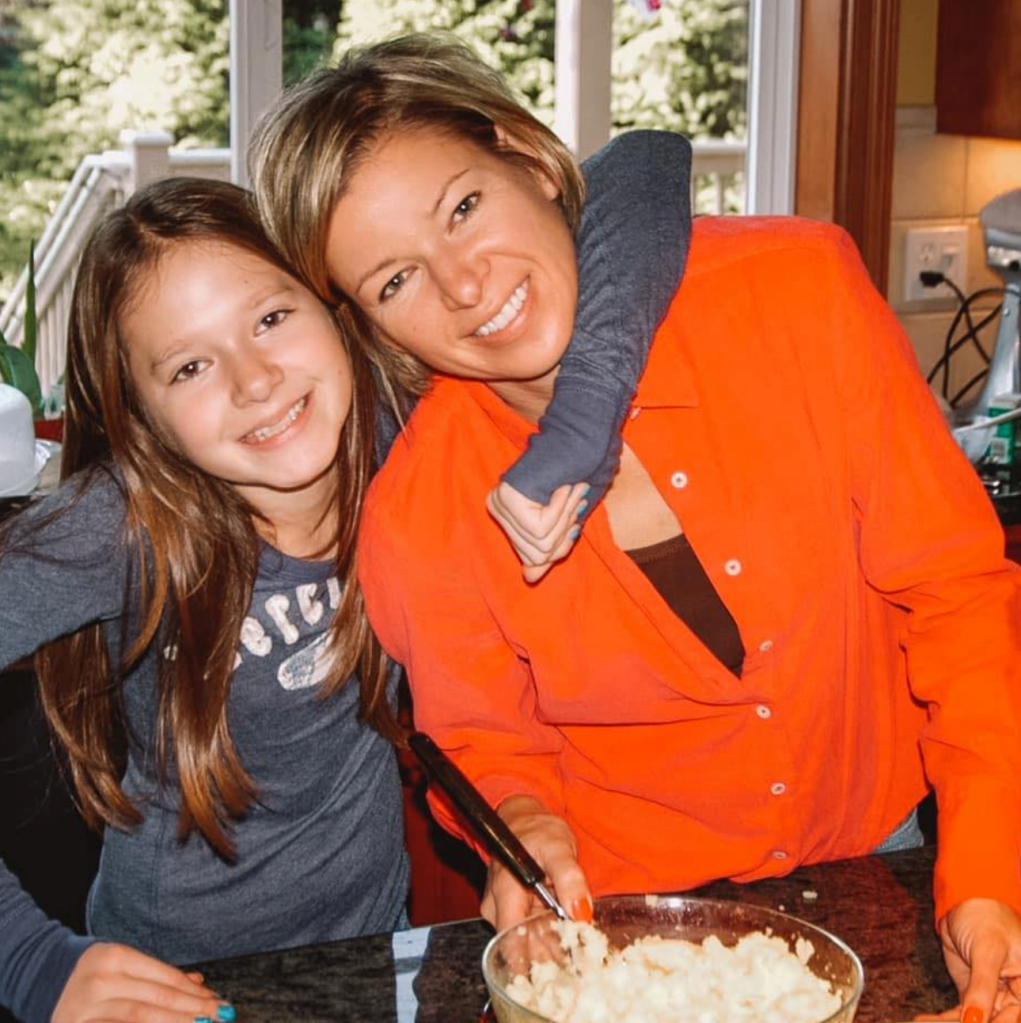
It has been a journey to reach the point where we are now. When we were first diagnosed with celiac disease, the one thing that upset me the most was the perception that my daughter would not have a “normal” life.
Us, Back in the Early Days
Celiac Disease was considered rare then. And even though it seems more commonplace now, the fact is that she has a life long, life-changing, autoimmune disorder.
And back then, eating gluten-free was far from the norm. To me, who had never even heard the word “gluten” before, the life that we would have to lead seemed far from ordinary. No more bread? No more pasta? No more travel? No more eating out?
I spent a day locked in our guest bedroom in the basement, crying over what I thought was the loss of our “normal” life.
The early years were challenging for my daughter, as well. If you have read my blog, you know I try hard to put as positive of a spin on things as is possible, but being gluten-free back then was very hard.
There was no GF bread – lunch was served on corn thins.
And there certainly was no GF pizza or hot dog buns or hamburger buns.
And every time there was some event, Alex had to show up with her food. It was tough going, and I know that my daughter felt “different” and “left out” at times.
A year or two after diagnosis, we traveled to New York City together – our first really big trip out of town gluten-free. My daughter was around 13 years old and dreamed of living in NYC someday. It was a ton of work to prepare for this trip, as it was the first time we would spend a few days in a different city, eating out for every meal. But we wanted to travel and did not want our diets to stop us.
We had a great trip and enjoyed seeing the shows and Broadway, shopping, and eating out at all of the great gluten-free restaurants in NYC.
One afternoon, we were sitting in Risotteria, devouring the breadsticks (best we had ever eaten) when this lovely young lady and her date walked in to sit next to us. Picture Blake Lively just walking off the set of Gossip Girl. Being a teenage girl, my daughter’s eyes grew large and sparkled when she saw her. This young lady was more than “normal” to my teenage daughter. She was young, creative, confident, incredibly hip, and living in NYC.
Rissoteria is a tiny restaurant, and at some point, it is tough not to hear the conversation next to you. This young lady and her boyfriend were talking about the food at Rissoteria, and after a few minutes, it became clear that she was gluten-free.
And even better yet, it turned out she had celiac disease too.
This may seem like a small incident, but to my daughter, who had not met that many people with celiac disease, this was a huge moment. It was a “wow, I can have celiac disease and have a great life too” kind of moment. It was a glimpse into the future and a moment of hope.
Things have changed since the “good old days” of being gluten-free – even to the point that in some circles eating gluten-free is normal.
And now, as I look at my daughter, I have to sit back and wonder what I was so worried about. My daughter is beautiful and incredibly gifted and smart, and funny. And she is very, very healthy. And I am incredibly proud of her.
I don’t know about you, but I have been cooking a lot lately. I love recipes that make enough food for more than one meal. This one almost tastes better the second day! Enjoy and stay healthy!
Heat oil in a large soup pot over medium-low heat. Add onions, garlic and bay leaves. Saute 5 minutes. Add diced chicken, cumin and oregano, and saute until chicken cooked through.
Add tomatoes, chicken broth, salsa, cilantro, salt, and pepper. Bring to boil then simmer for 15 minutes.
Add rice and simmer 15-20 minutes until rice is soft.
Add black beans and corn and remove from heat.
Top with gluten-free tortilla chips, cheese, or chopped avocados.
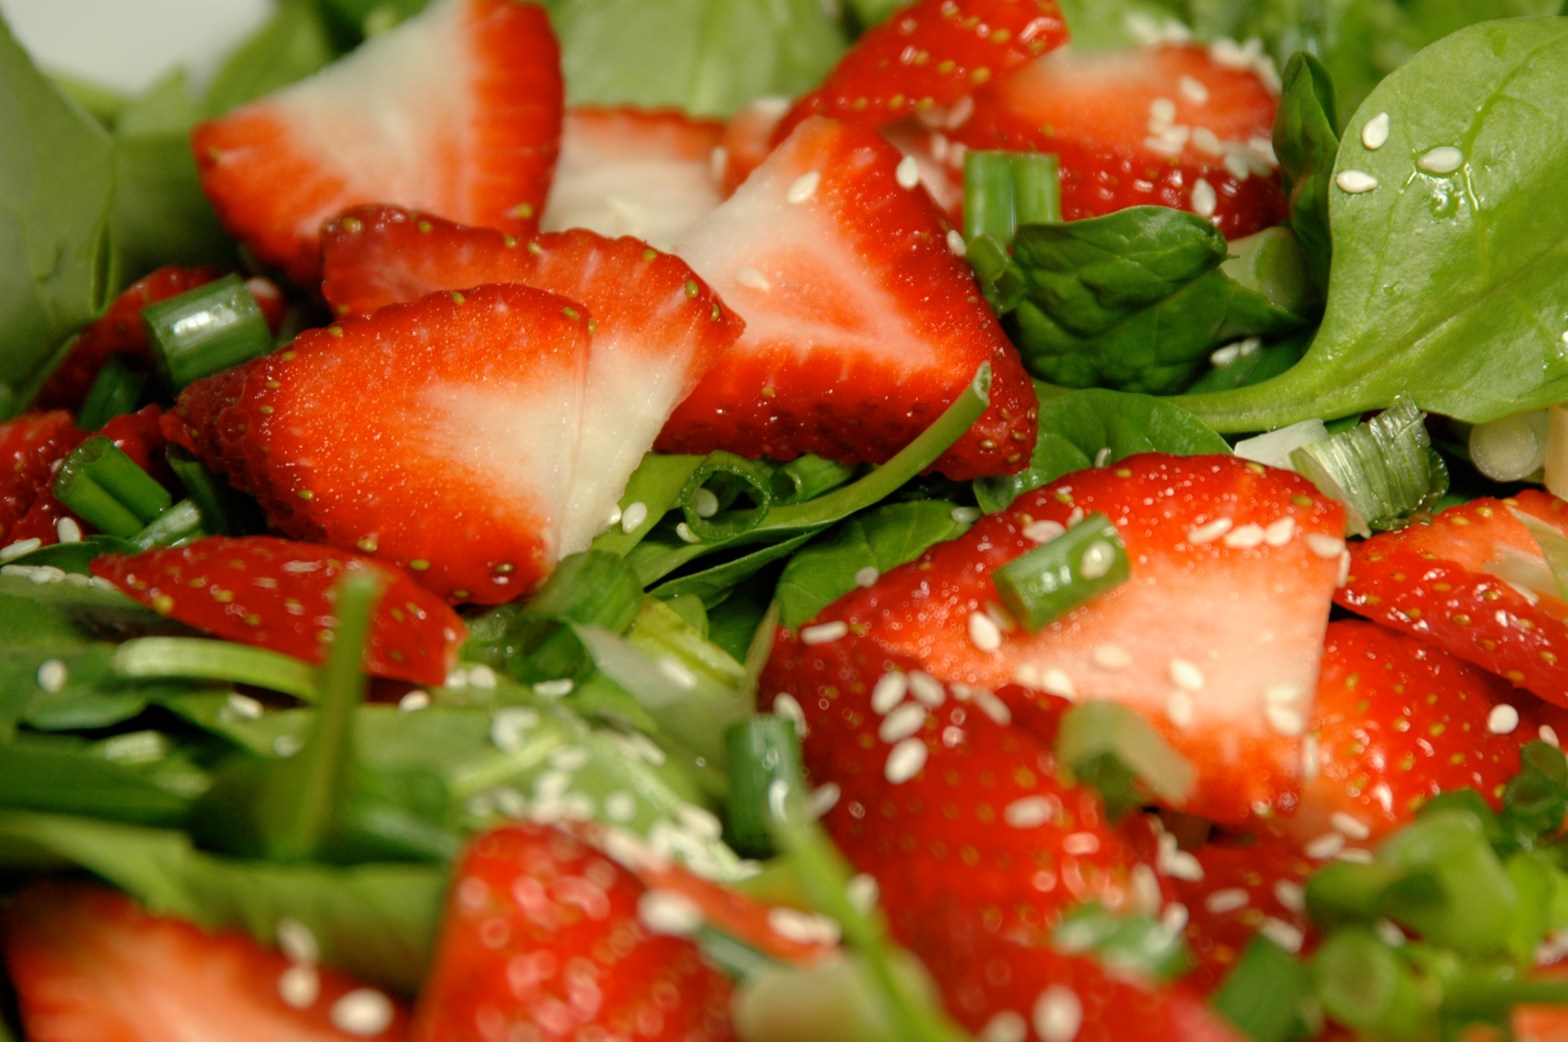
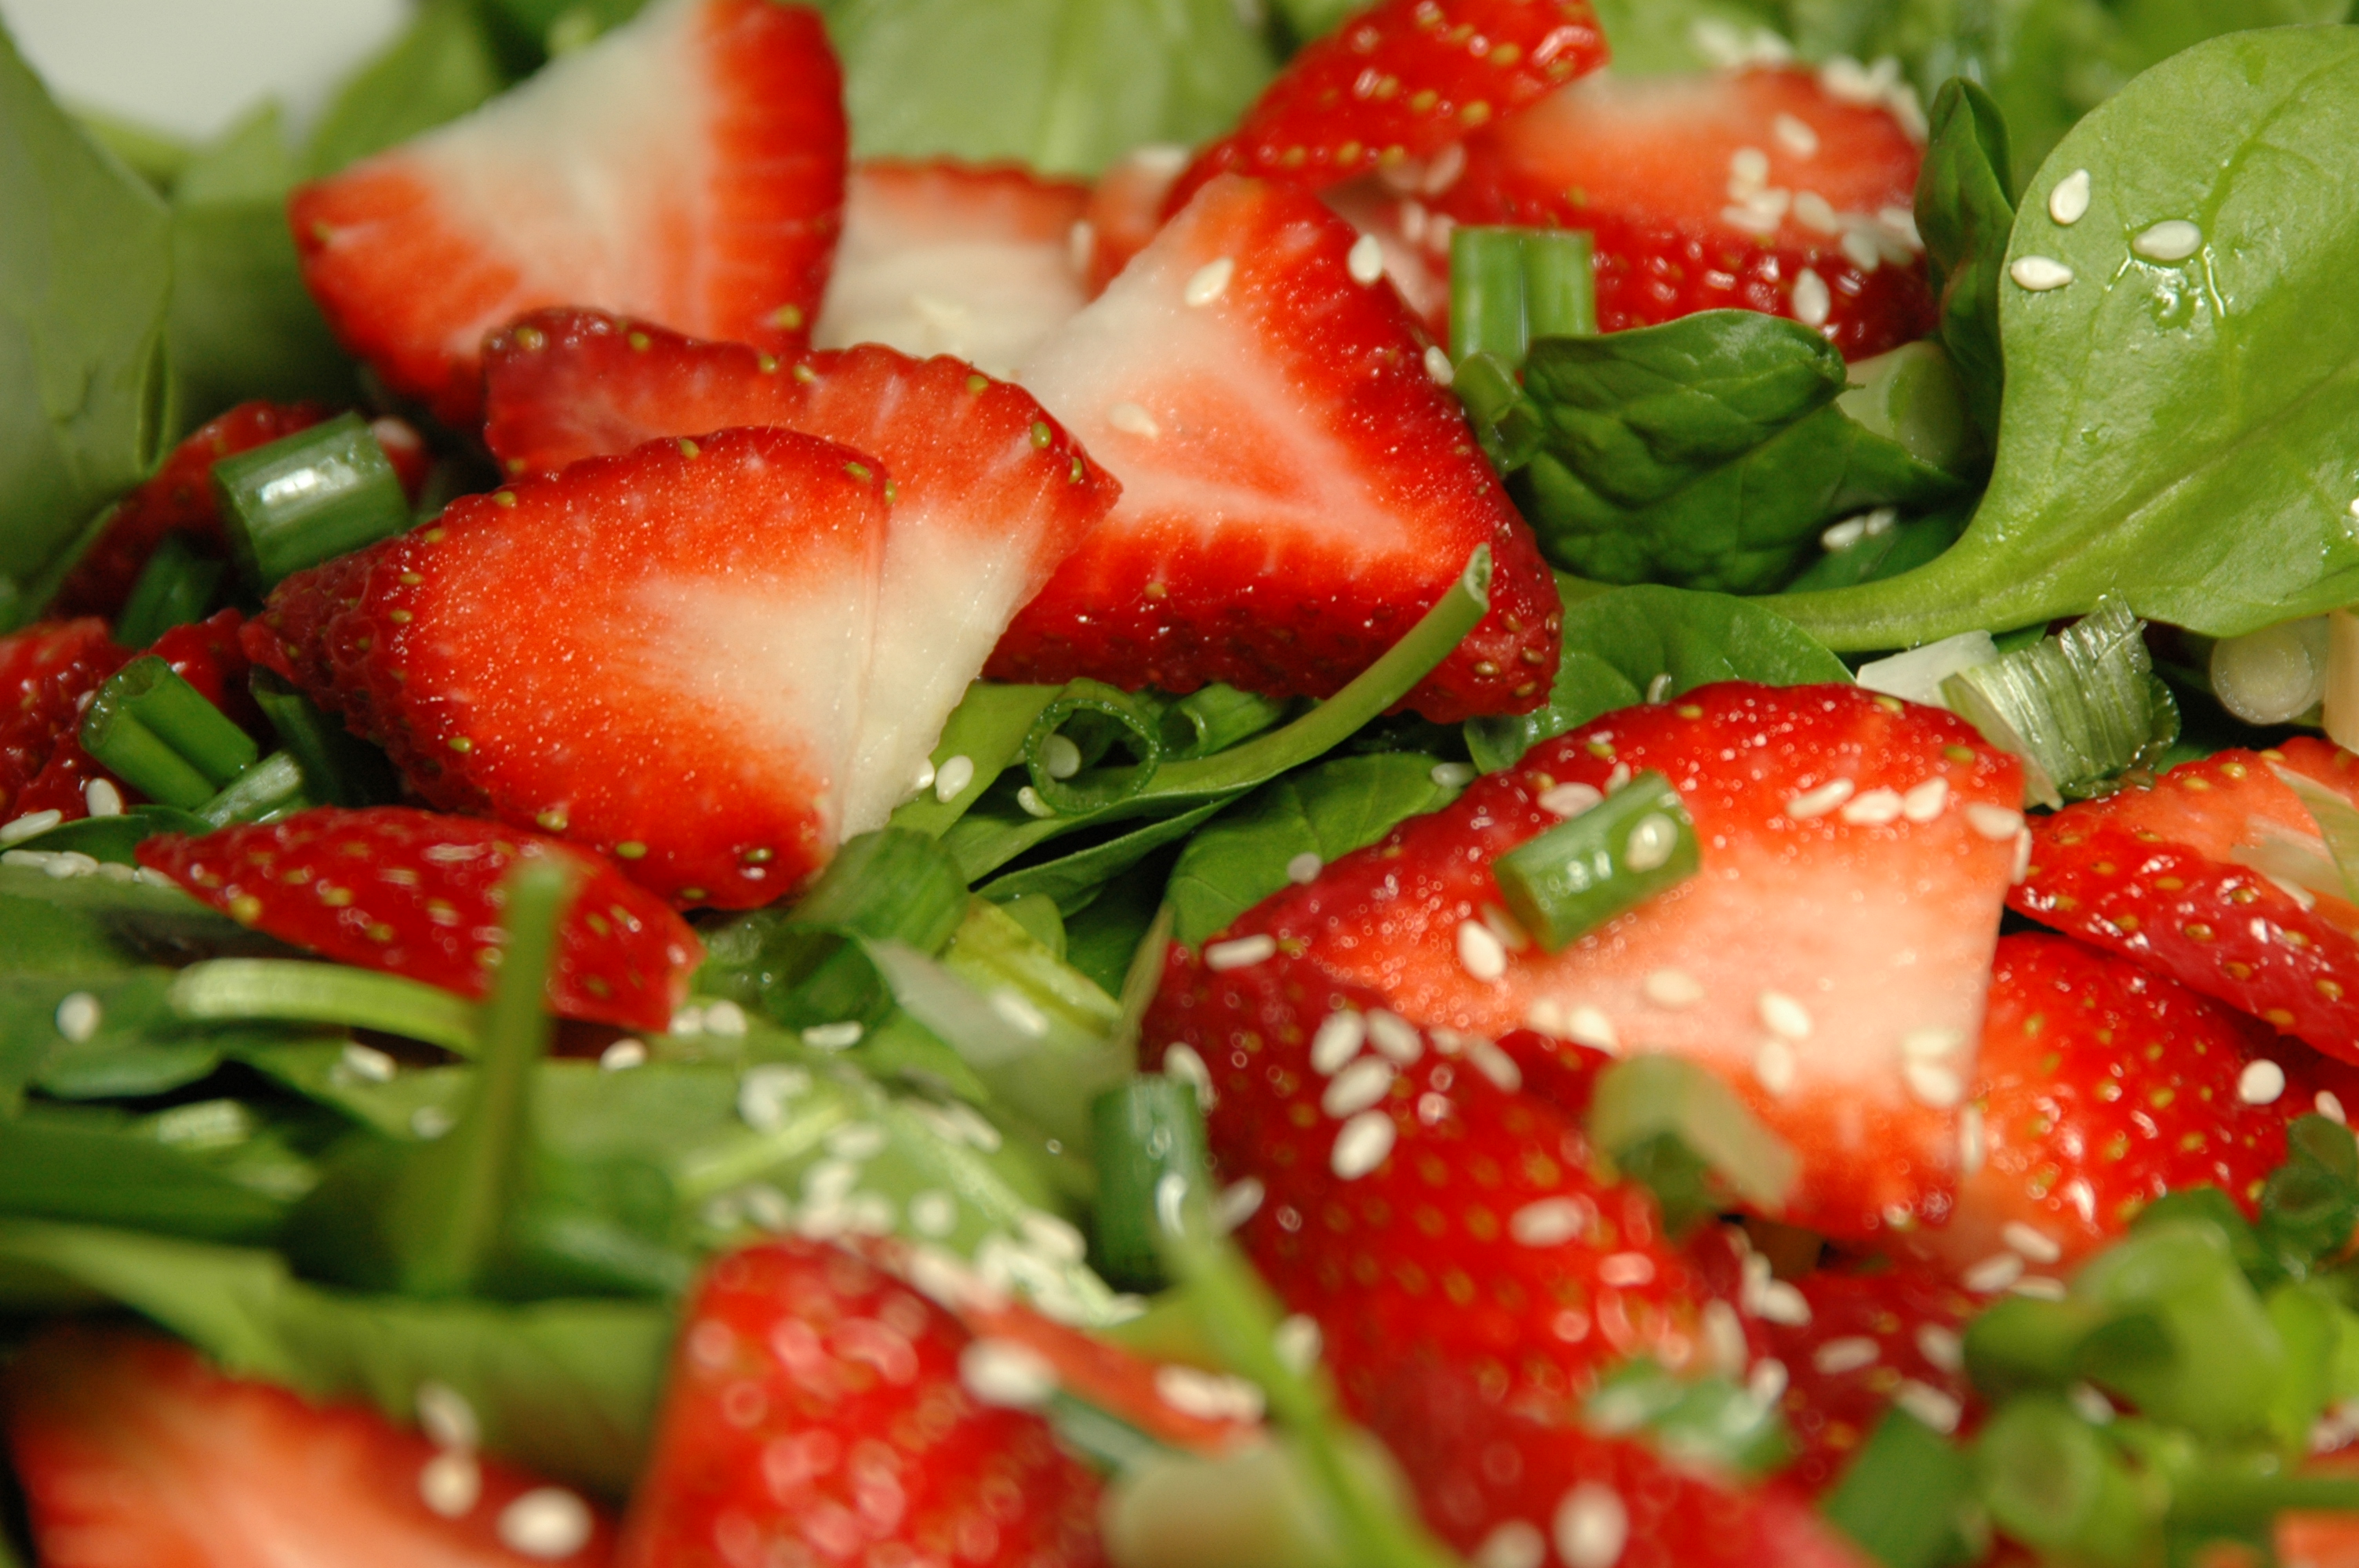
I have to admit that I eat a salad pretty much everyday. This is one of my favorites. Especially in the summer as the fresh strawberries and spinach grows in the garden. Enjoy!
splash of GF hot sauce (I like using Sriracha Hot Sauce)
Directions
1. Add spinach, strawberries and sesame seeds to a large bowl.
2. Add dressing ingredients to a glass jar and shake.
3. Toss with the salad before serving.
You can find our favorite Red Sriracha Sauce on Amazon by clicking the link above. I love this hot sauce. Gives any recipe a nice kick.
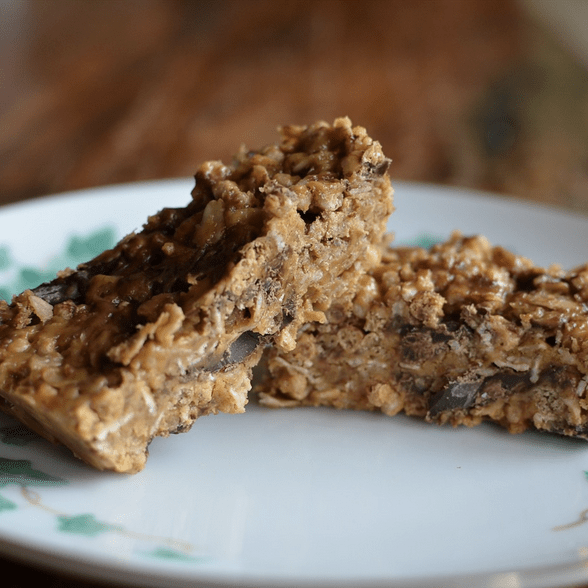
I promised our absolute favorite recipes for this website, and this one is a winner. I made these every week when the kids were younger. So yummy. Enjoy! Jamie
1 Cup Gluten-Free Mini Chocolate Chips (For dairy-free use Enjoy Life Foods Semi-Sweet Chocolate mini-chips.)
Directions
Grease a 9 x 12 dish.
In a medium-sized saucepan, combine honey, brown sugar, and oil. Warm gently over low heat while stirring until the sugar crystals have dissolved.
Stir in the peanut butter, vanilla, and salt until smooth. Remove from the heat. Allow the mixture to cool for a couple of minutes.
Stir in the flaxseed, followed by the oats and cereal.
Let the mixture cool for a few more minutes (so the chocolate chips will not melt) and then stir in the chocolate chips.
The mixture will be crumbly. Press firmly into a 9 x 12 pan (put your had in a sandwich bag covered with a light coat of oil and use to press the granola together).
Place in the refrigerator to chill for 30 minutes to an hour.
Cut into bars.
They will be very hard when they first come out of the refrigerator but loosen up as they get warm.